
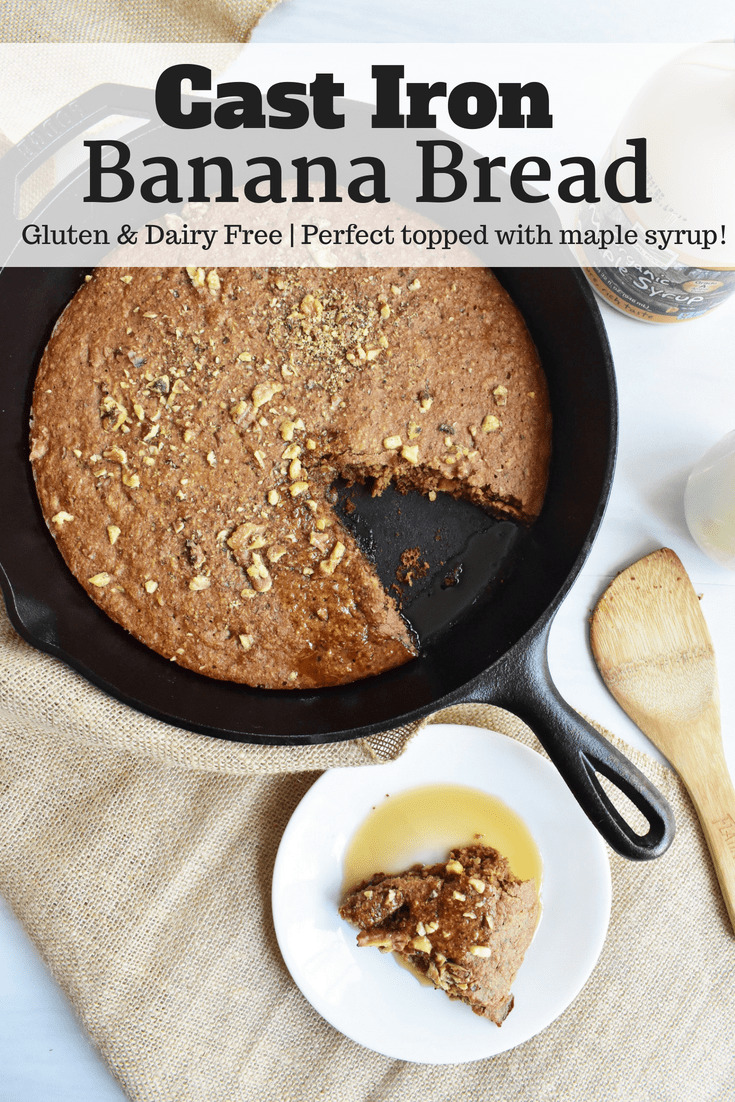
Want a breakfast treat or anytime dessert that will please the whole family? Cast iron banana bread is nutritious, delicious, and can be made ahead of time! Cooking in the cast iron skillet just feels so warm and fuzzy to me – reminds me of winter time growing up.

This recipe was originally inspired by an amazing maple pecan breakfast bake pin that I found on Pinterest from Paleo Running Momma. Michele’s version was already so delicious as is, I just wanted to change some of the ingredients to put my own spin on it.
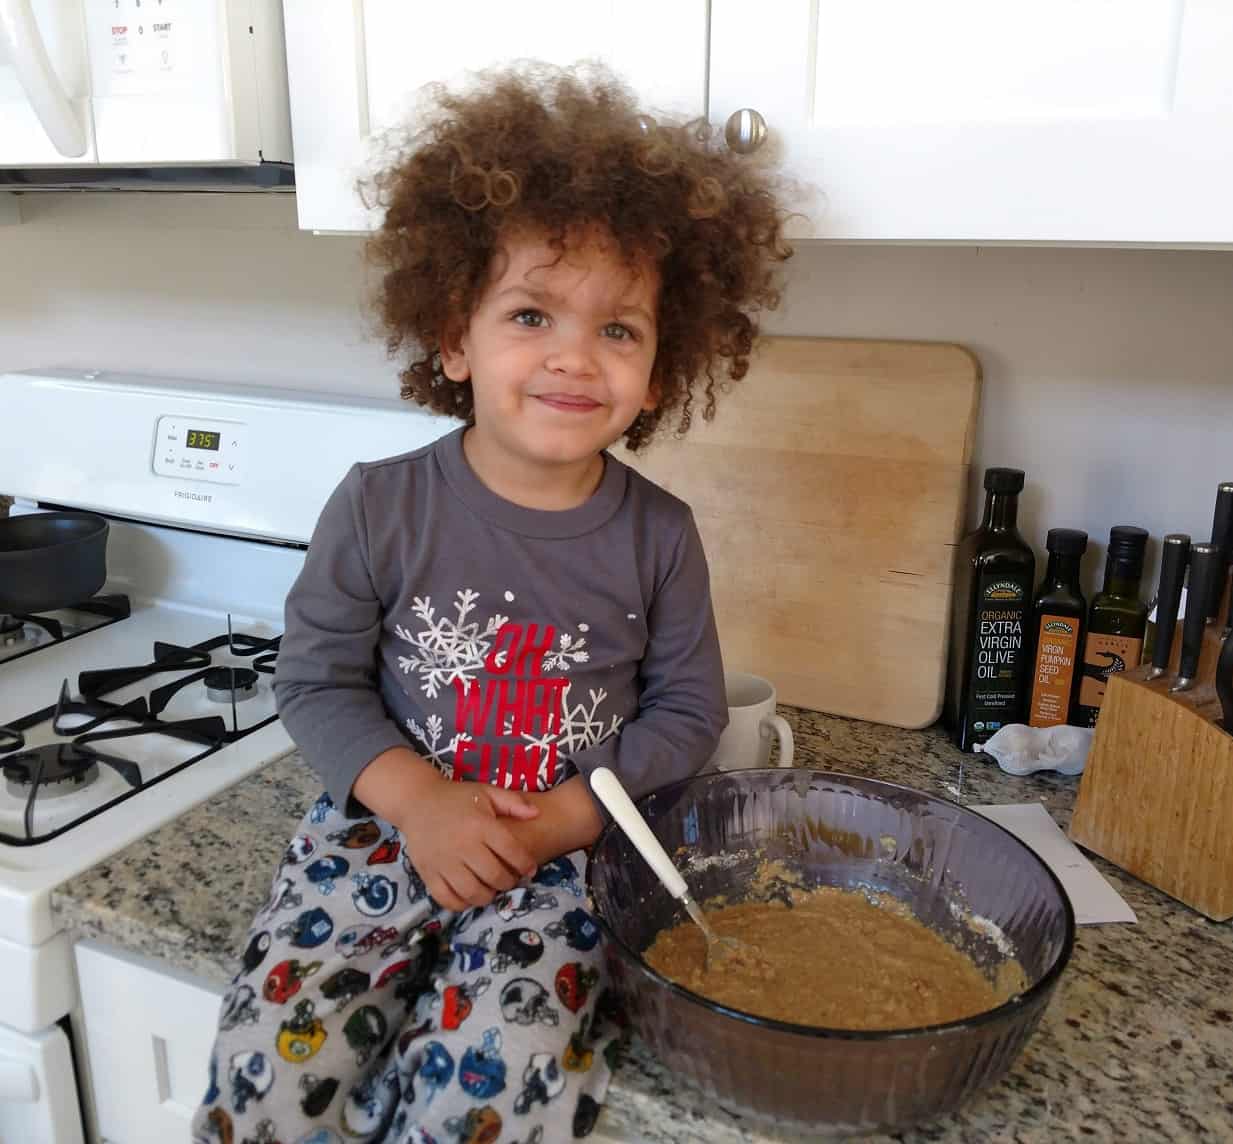
While her version used almond flour, I decided to use oats in mine. I’m not paleo so I don’t avoid grains – and I love that oats are a lower-calorie baking option. Plus, oats are so cheap, which makes this a great inexpensive, family-friendly option! My kiddo has become a big fan of cooking it with me on the mornings we’re home together:
Why You’ll Love This Cast Iron Banana Bread Recipe
1. This is a naturally dairy free banana bread – great for anyone with dairy allergies!
2. It can also easily be made gluten free by using certified gluten free oats. While oats themselves do not contain gluten, current agricultural practices mean certain oats may be contaminated by gluten due to the proximity of wheat in the fields. Just look for oats that list themselves as certified gluten free.
3. Most traditional banana bread recipes use butter or oil – but this version uses peanut butter instead. The result is a skillet banana bread that is still tender and still has satiating fat, but also has a nutty flavor and a little extra boost of protein. You’ll also add walnuts into the batter and on top of the bread too, for a boost of extra healthy fats, vitamins, and minerals.
4. You can meal prep this in advance! Just bake it and then portion it out into meal prep containers and store in the fridge for up to 5 days. Pop it out and microwave for about 30 seconds, and you’ve got a tasty hot breakfast or snack ready to go. It’s ideal for any of you ladies with a busy schedule, or for kiddos that need to get out the door to school.
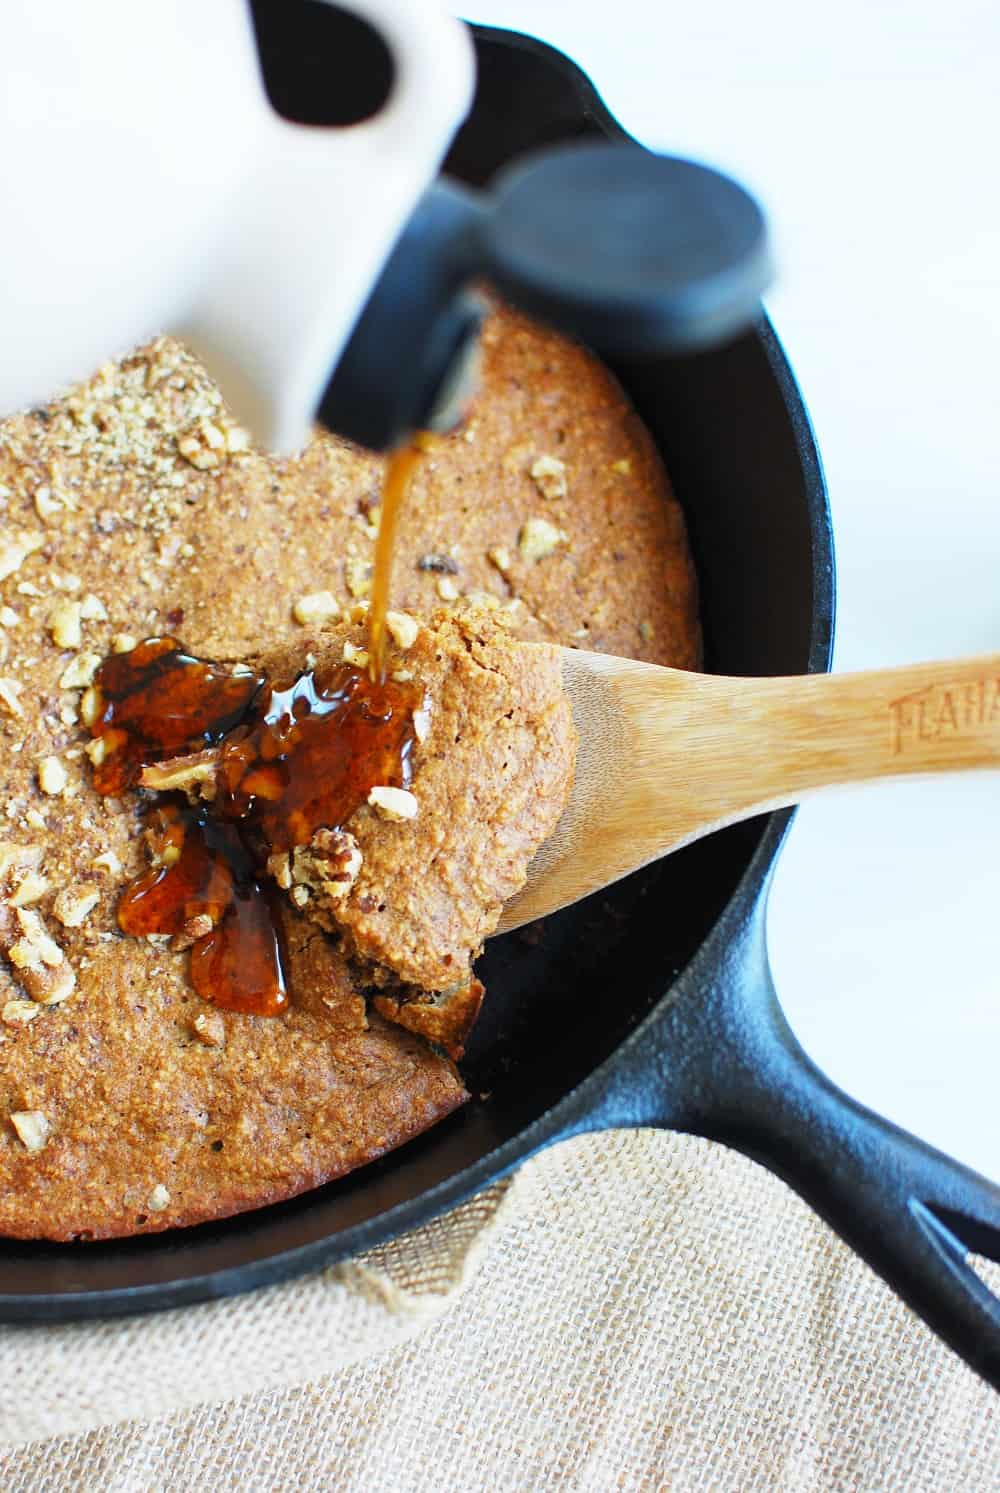
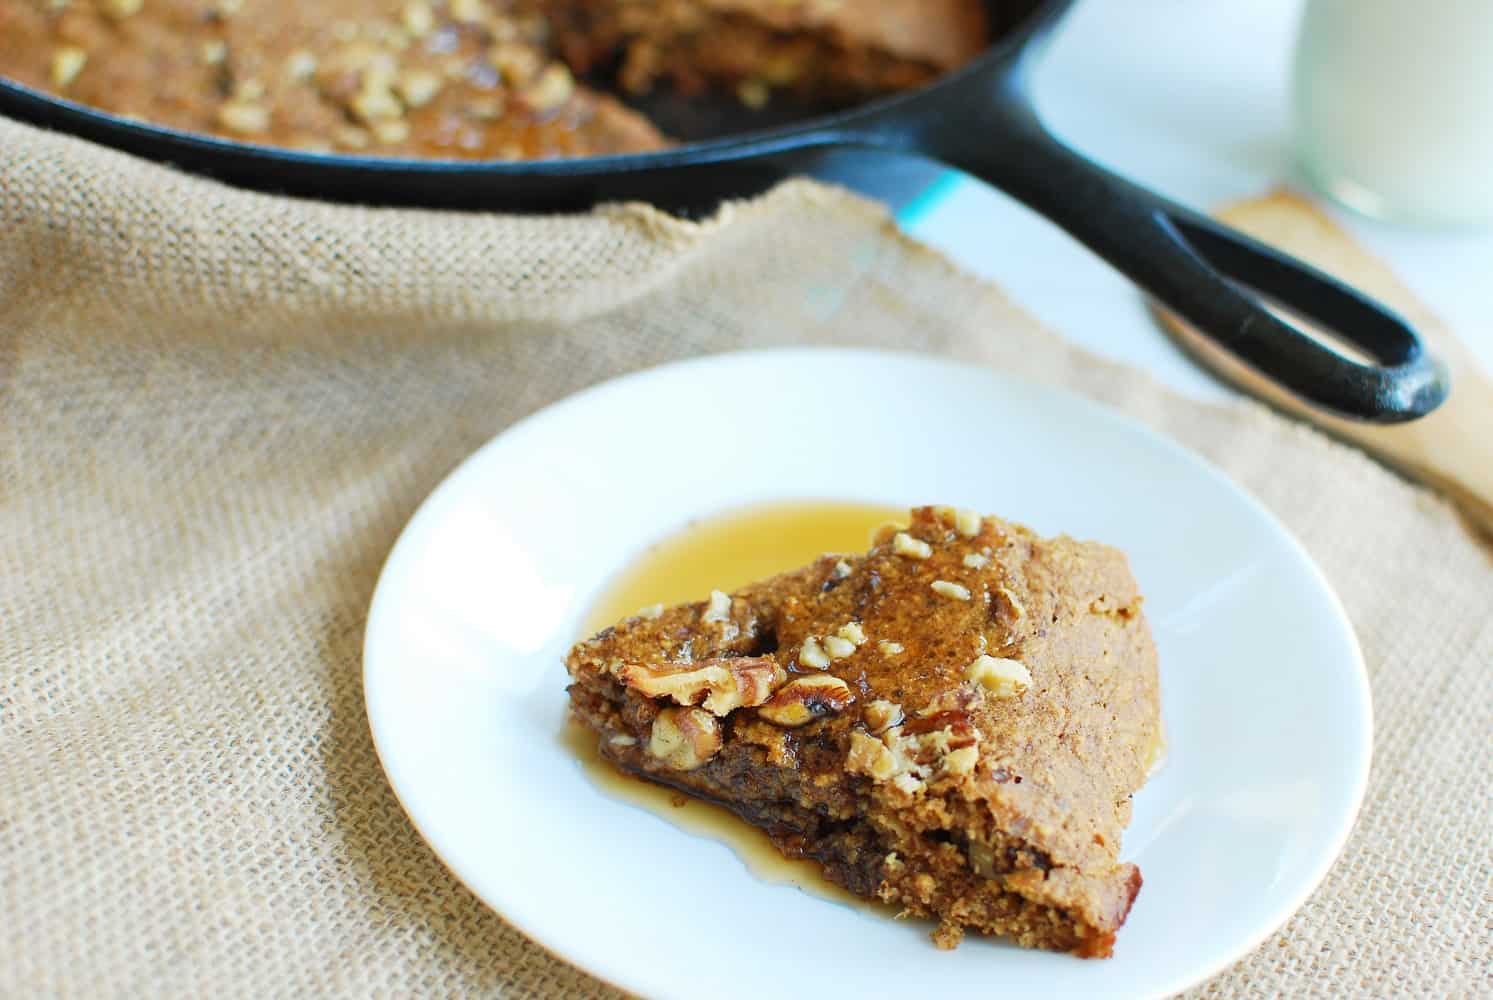
5. Of course, it’s super tasty! The finished product is kind of like a mix between banana bread baked oatmeal, a banana pancake, and healthy banana bread. The best way to eat it for breakfast (in my humble opinion) is warm, topped with a little extra maple syrup. You can add a dollop of yogurt on top, or serve it alongside a cold glass of milk or almond milk. If you want it dessert style at night, top it with a scoop of vanilla ice cream or dairy-free coconut ice cream. 🙂
More Banana Bread Recipes
If you’re looking for other ways to use up your overripe bananas, here are a few of my favorite banana bread variations:
- Pistachio banana bread
- Matcha banana bread
- Buckwheat banana bread
- Kodiak Cakes one banana mini banana bread
I hope you enjoy this recipe! Be sure to leave a rating in the comments if you try it out. And if you’re looking for more dessert ideas, check out this roundup of cast iron skillet desserts.

Cast Iron Banana Bread
Ingredients
- 2 overripe bananas
- ⅓ cup natural peanut butter
- 3 tbsp pure maple syrup
- 3 tbsp applesauce
- 2 tsp vanilla
- 2 eggs
- 1 ⅓ cups rolled oats (if gluten free, look for certified gluten free oats)
- 2 tsp cinnamon
- ½ tsp baking soda
- ¼ tsp salt
- ½ cup chopped walnuts, divided
Instructions
- Preheat the oven to 375 degrees F. Grease a large cast iron skillet with an oil of your choice.
- In a large bowl, mash the bananas with a fork or potato masher. Add the peanut butter, maple syrup, applesauce, vanilla, and eggs. Whisk together.
- Add the oats to a blender or food processor. Pulse several times until the oats form a coarse, flour-like consistency.
- Pour the oats (now processed into flour), cinnamon, baking soda, and salt into your bowl with the wet ingredients. Stir until just combined.
- From your ½ cup of walnuts, set aside a few spoonfuls that you’ll use for topping. Add the rest of the walnuts to the batter and stir until just combined.
- Pour the batter into the cast iron skillet. Top with your remaining walnuts. Bake at 375 degrees for 20-25 minutes, or until a toothpick comes out clean.
- Let cool for a few minutes, then serve still warm topped with maple syrup!
Notes
Nutrition
Please pin this post to save for later!

- Easy Arugula Pesto Recipe - October 13, 2026
- Roasted Veggie and Quinoa Bowls with Arugula Pesto - October 13, 2026
- Sweetpotato Date Caramel Apples - October 5, 2026


Leave a Reply