

Have you heard the hype about beef bone broth? Homemade broth offers several benefits – it can be rich in nutrients like collagen and can be great as an additional way to stay hydrated. It’s also an excellent way to maximize all parts of your food, using beef bones and vegetable scraps to create this delicious option. Making your own requires a little time, but is quite simple to do with this easy slow cooker bone broth recipe.
Disclosure: This post is sponsored by the Northeast Beef Promotion Initiative, a contractor to the beef checkoff. As always, all opinions are my own.
Note: This post was originally published in 2019 and has been updated in 2026.

Ingredients
You only need a handful of ingredients to make this recipe:
Beef bones: Ideally, you’ll want a mixture of bones that are more joint-focused and some that have a little meat on ‘em. This will help give the best mixture of nutrients (including collagen) and taste. For example, bones like knuckles have a little more collagen in them. Bones like oxtail have a bit more meat and flavor to them. But really, you can make beef bone broth with any types of beef bones. I made this bone broth with a mixture of marrow bones and beef shank that still had some meat on it.
Olive oil: For roasting the bones first (highly recommended!)
Vegetables: Carrots, onions, and celery are go-to’s. Feel free to use scraps if that’s what you have (like the tops of the celery). You can also just chop up regular fresh veggies.
Vinegar: This helps draw out nutrients in the bones.
Water, bay leaf, salt: The rest of what you’ll need for broth and seasoning.

Where can I buy beef bones?
You might be surprised at how easy it is to find beef bones! Here are a few ways to find them:
- Grocery store: Around here, most local grocery stores have extra beef bones packaged up for sale, and they’re super inexpensive.
- Local farms: We have a local farm up the road that sells beef, and you can also buy the bones too. Check out the farms near you!
- Saving leftovers: Or, think about buying larger cuts of meat that include the bone, and eating those meats for meals. Then just set aside the bones in the freezer until you have enough to make bone broth.
- Ask your butcher: Some butchers sell bones, and others may be willing to give ‘em to you for free so that you can take them off their hands.
- Order online: Lastly, you can order beef bones directly through some websites online. This is helpful if you’re looking for very specific types of bones (for example, if you only wanted grass-fed and finished bones).
How to make beef bone broth
This recipe is pretty much as simple as it gets:
- Roast bones and veggies for a little less than an hour.
- Place in a slow cooker with water, a bay leaf, and a smidge of apple cider vinegar.
- Let simmer for 18-24 hours.
- Strain the veggies and bones.
- Season the broth with salt.
That’s it! When it’s all done, you’ll have tasty broth to sip as-is, or to use in a recipe that calls for broth. For example, I love using this bone broth to make my comforting beef stew recipe and this delicious steak and mango chili.
Tips for making homemade bone broth:
- Roasting seems like a bit of a pain before tossing everything in the slow cooker, but it really helps bring out the deep, rich flavor in the bones – along with the subtle sweetness that the vegetables will add to the stock. That said, it’s not a necessity. You can skip it and still end up with pretty good broth; it just won’t have quite as much flavor.

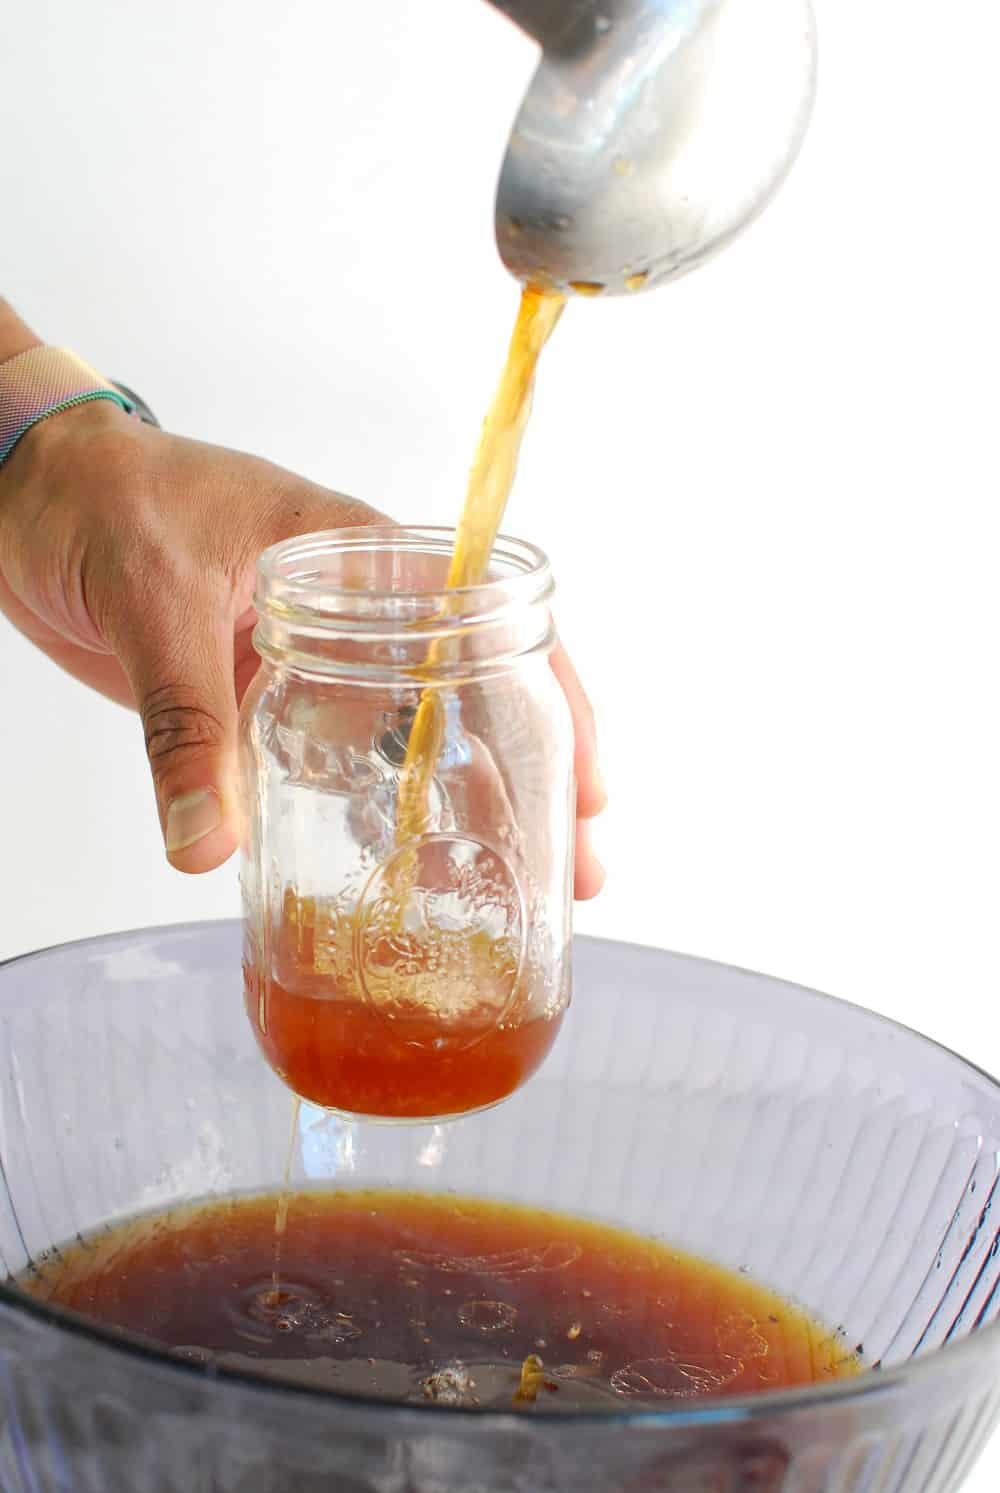
- When it’s ready, don’t put all the bone broth in a giant bowl or storage dish and toss it in the fridge. When food is cooled in large quantities, it often stays in the bacteria “danger zone” for too long, which puts you at risk for foodborne illness (yes, this is the RD in me getting nerdy about food safety). Instead, separate the broth into several smaller mason jars or storage containers so that it all cools down in a safe time frame.
- Once the bone broth cools down in the fridge, you’ll notice a layer of fat that accumulates on top. Just skim the fat off the top and discard it. (Some people prefer to heat it and mix the fat back in, but I personally prefer skimming it off).
- If you’re nervous about leaving your slow cooker on overnight, you can start the bone broth first thing in the morning when you wake up, and finish it up a little before you go to bed. This will give it plenty of time to develop flavor, even if it’s not a full 18-24 hours!
- If you decide to make this on the stovetop, please don’t leave it unattended. While a slow cooker is designed to cook at a very low temperature in an enclosed environment – and as such, can be left unattended – a stovetop is not designed that way. If you make it on the stove, just be sure you’re home the whole time and monitoring it consistently.

I hope this post was helpful for breaking down all the facts about beef bone broth! If you’re ready to give it a try yourself, here’s my slow cooker beef bone broth recipe. If you try it, be sure to leave a recipe rating to let me know how you like it!

Slow Cooker Beef Bone Broth
Ingredients
- 1 tbsp olive oil
- 3-4 pounds of beef bones*
- 1 cup baby carrots (or quartered regular carrots)
- 2 medium onions, quartered
- 3 celery stalks, chopped in thirds
- 1 bay leaf
- 2 tbsp apple cider vinegar
- Water
- Salt (season to taste after cooking)
Instructions
- Preheat oven to 400 degrees F.
- Place bones, carrots, and onions on a baking sheet. Drizzle with olive oil and rub everything around a bit to coat.
- Roast for 40-50 minutes total, being sure to flip everything half way through.
- Add the roasted bones, carrots, and onions to the crockpot. Add celery, bay leaf, apple cider vinegar, and enough water to fill your crockpot (around 10 cups).
- Turn slow cooker on low and let the bone broth cook for 18-24 hours.
- When done, turn off heat and let cool down a bit. Strain out bones and vegetables. You can season the broth to taste now with salt.
- Place bone broth in smaller containers, like a few mason jars or small glass storage dishes. Place in the fridge.
- When ready to enjoy, you’ll notice that the fat has solidified on top. This can simply be discarded prior to eating (or mixed back in when heated, if you prefer).
Notes
- You can use a variety of mixed bones, including marrow, oxtail, shank, knuckle, etc.
Nutrition
Share: Have you gotten into the beef bone broth trend? Have you tried making this slow cooker bone broth at home?
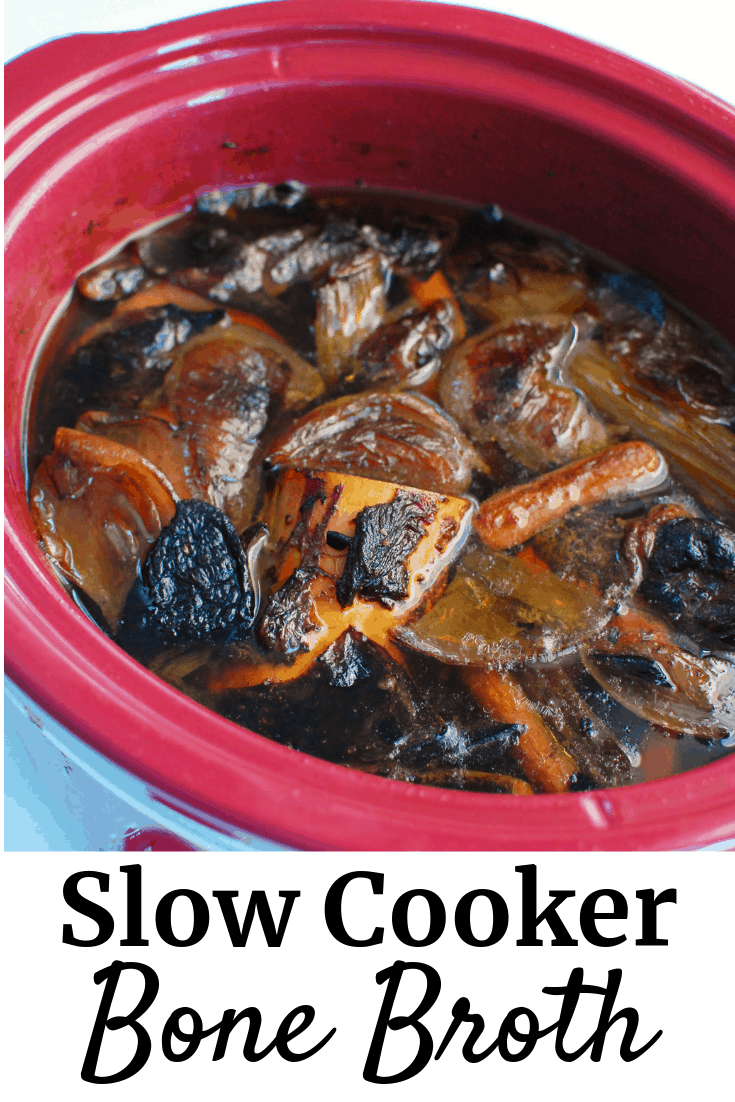
Please pin this post to save for later!

- 25 Minute Walking Workout (For Outdoors or Treadmill) - September 17, 2026
- Zucchini Crisp Recipe (Yes, Veggies for Dessert!) - September 16, 2026
- Sweetpotato Ice Cream Cone Cupcakes - September 14, 2026



This is a great guide and I love all your info! Bone broth is a great addition to any diet!
Thanks so much! Glad you found it helpful.
This is a fabulous post! So tasty and so many great benefits – I especially like the idea of getting better sleep!
We could all use better sleep, am I right?! 😉
Thank you for all of this information! WOW! It’s awesome to learn about all the nutrition facts on bone broth.
Sure thing! Glad you found it helpful!
I’m making this for the weekend, I bet everyone is going to devour it!
Yayyyyy! Would love to hear how it went if you got a chance to make it 🙂
Can I roast the bones and veggies the day before then pop them in the crockpot in the morning?
Yes! That will work 🙂
Can I freeze the broth? It will be ready in a few hours. I know I have to cool it first. Looking forward to trying it! Also my husband and son will be elk hunting soon, so I think it will be a good liquid source for them while hiking in the mountains.
Hi there! You can freeze the broth. After cooling, portion out into freezer-safe containers or a silicone option like souper cubes. If you have good quality ziptop bags (i.e. ones that don’t leak when sealed) you can also portion into those and freeze flat to save space. While I usually use glass storage for the fridge, if I’m freezing soup, I will freeze in plastic or silicone because I’ve found glass can shatter since liquid expands when freezing. Whatever storage you use, be sure to leave at least 1-2 inches of headspace at the top to allow for that expansion. I hope you enjoy the broth! 🙂